Halloween is quickly approaching, and if you enjoy decorating but want to save money, you’ve come to the correct place. DIY Halloween decor projects are an excellent way to get creative while keeping prices reasonable. Whether you’re throwing a Halloween party or want to wow trick-or-treaters, these beginner-friendly projects are entertaining, simple, and cost-effective. Let’s look at 10 Halloween DIY ideas that will turn your home into a haunting wonderland!
1. Spooky Mason Jar Lanterns
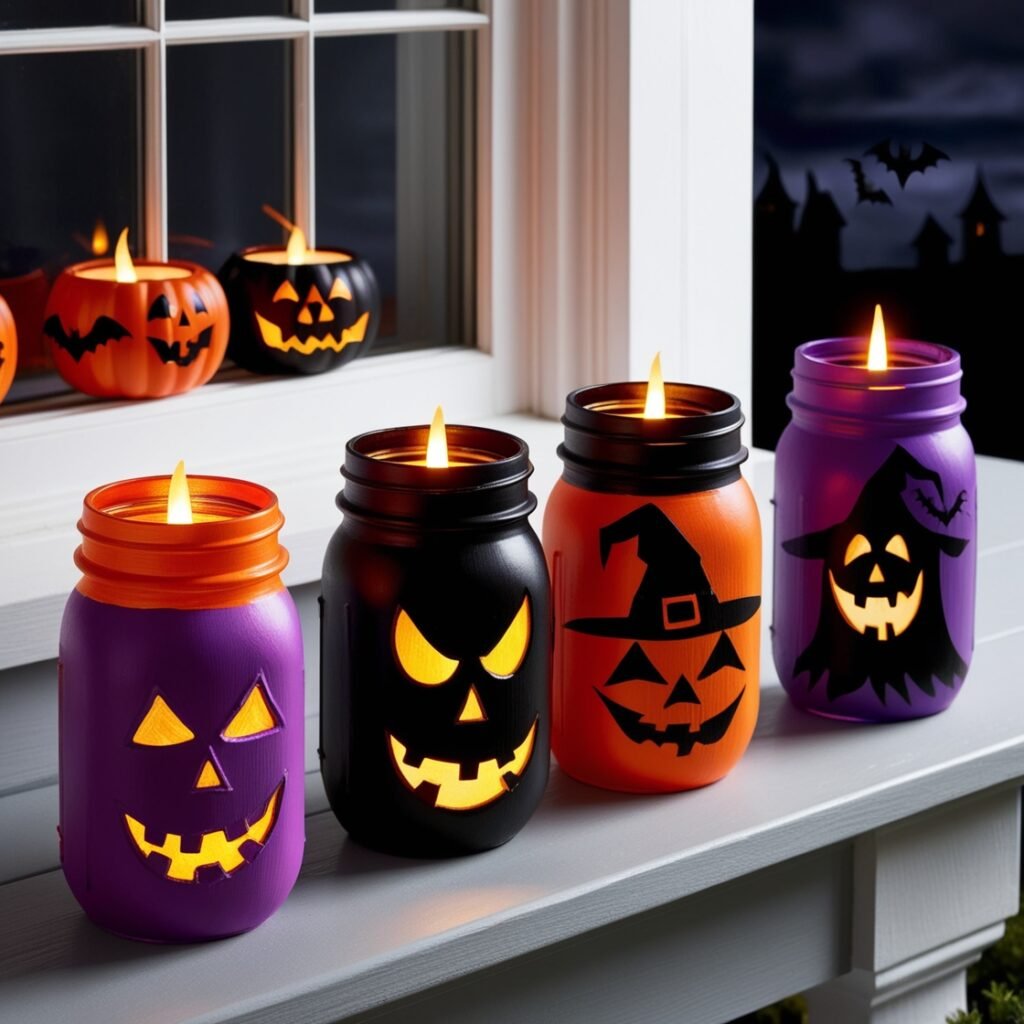
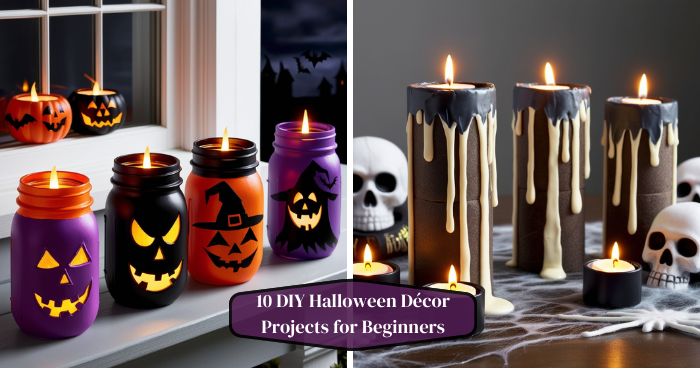
Mason jar lanterns are simple yet excellent at creating a spooky atmosphere. You can paint the jars in Halloween-themed colors (orange, black, or purple) and then draw frightful faces or cut-out shapes of bats and witches. Place a candle or LED light inside the jar and watch the frightening shadows come to life at night.
What you need:
To paint Mason jars, use glass paint.
Brush LED tealights or candles.
Use black paper or markers for details.
Steps:
Paint the jars in your preferred colors.
Cut out Halloween shapes with black paper or draw creepy faces on the jars.
Once dried, insert a candle or LED light within.
Line them up on your windowsill or porch for maximum impact.
2. Ghostly Cheesecloth Decorations
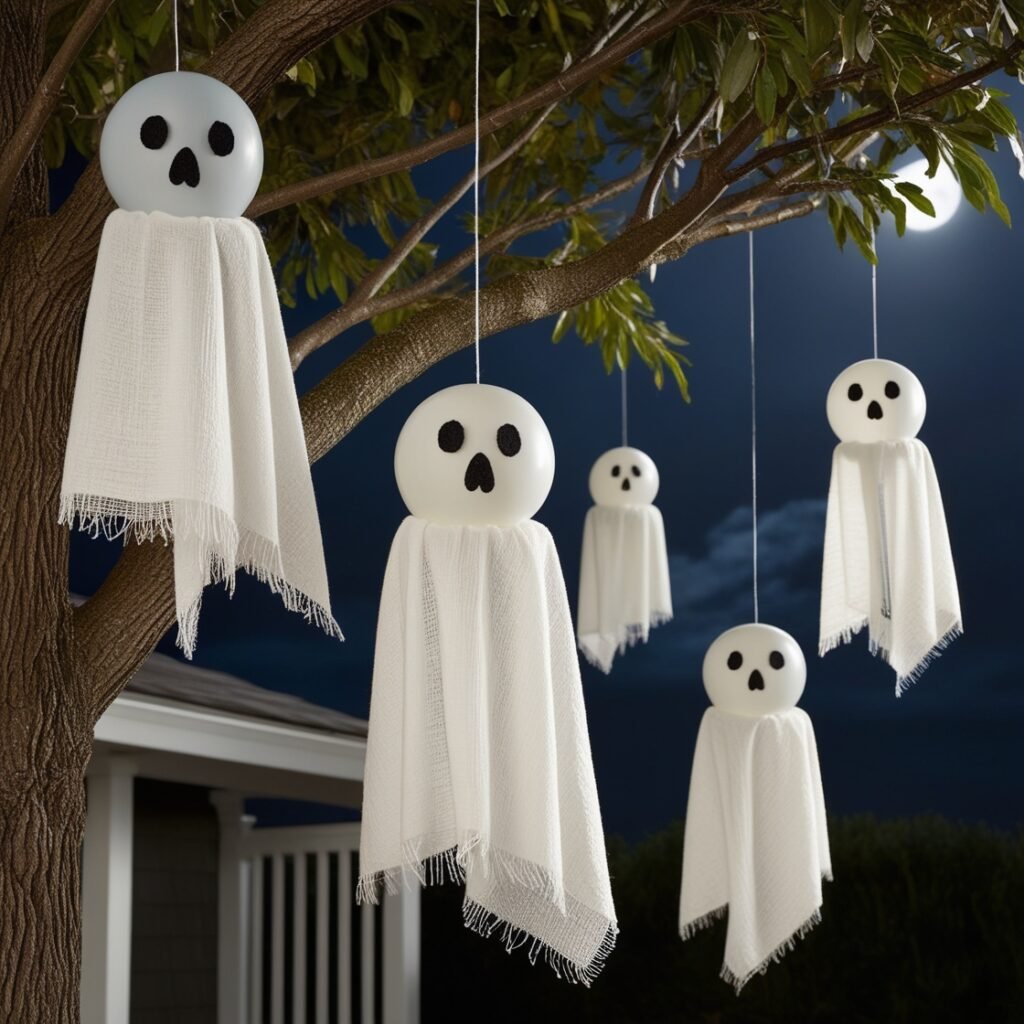
Cheesecloth ghosts are classic, lightweight, and extremely simple to make. These creepy decorations are ideal for hanging from trees, entrances, or your porch to greet visitors.
What you need:
Cheesecloth
Balloons or Styrofoam balls
Fabric stiffener or liquid starch.
Black felt for the eyes.
String or wire for hanging.
Steps:
Inflate balloons or place Styrofoam balls where you want the ghost’s head to be.
Drape the cheesecloth over the balloon to form the ghost’s body.
Spray fabric stiffener or starch to hold the shape.
Once dry, add felt eyes and hang it.
3. DIY Tombstones
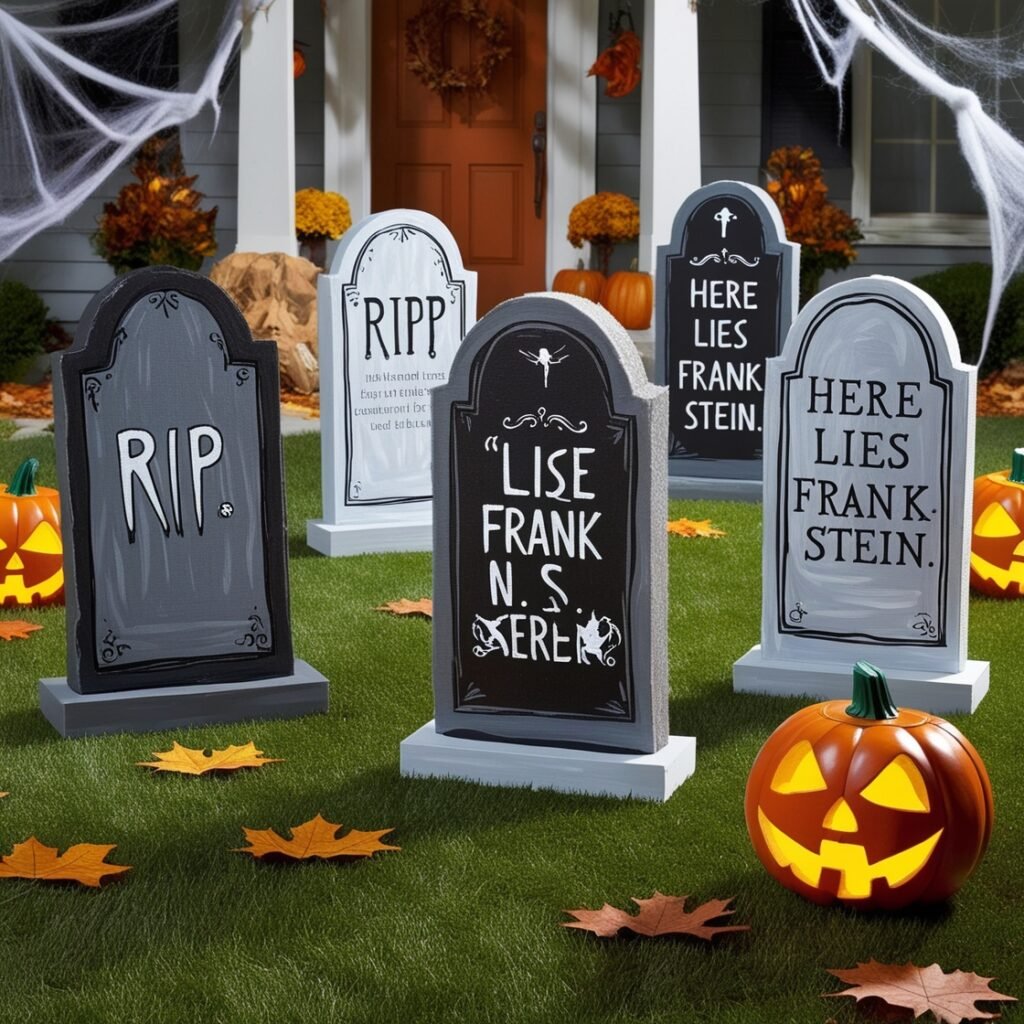
These DIY foam tombstones will transform your front yard into a graveyard. They are simple to construct and customize, giving your property a genuine haunted house feel.
What you need:
Foam boards or giant cardboard sheets.
Gray or black paint?
Use a Sharpie or black paint to write epitaphs.
Utility knife for shaping.
Steps:
Cut the foam board into tombstone shapes.
Paint them grey or black to give them a worn appearance.
Use a Sharpie to create humorous or eerie epitaphs such as “RIP” or “Here Lies Frank N. Stein.”
Place them across your yard, fastening them with wooden stakes as needed.
4. Bat Wall Decor
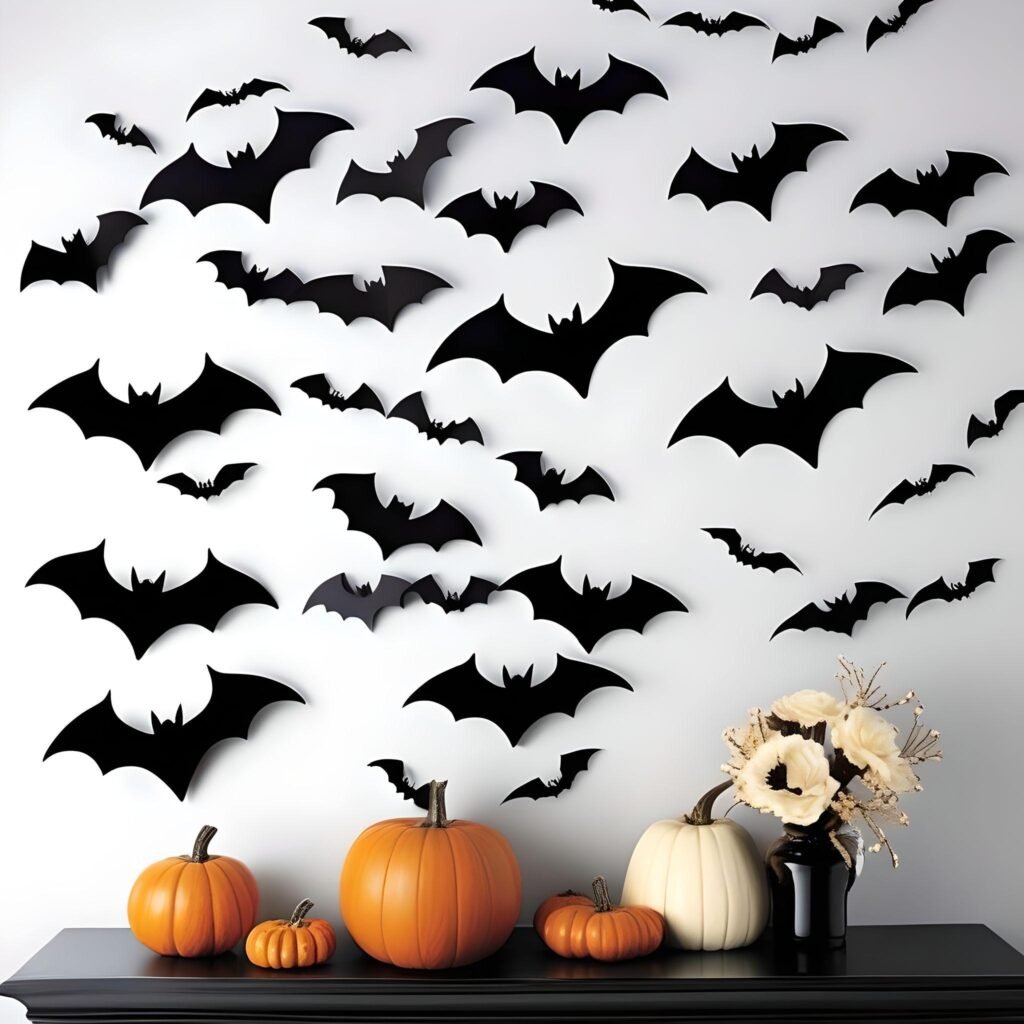
Nothing says Halloween like a swarm of bats flying through your home. Bat wall décor is simple to create and can instantly transform your room into a creepy atmosphere with little effort.
What You Need:
Black construction paper or cardstock
Scissors
Tape or sticky tack?
Steps:
Cut bat forms from the black paper.
Fold the bats slightly in the middle to create a 3D effect.
Stick them in groups on your walls to give the impression that they are flying.
5. Monster Door Decoration
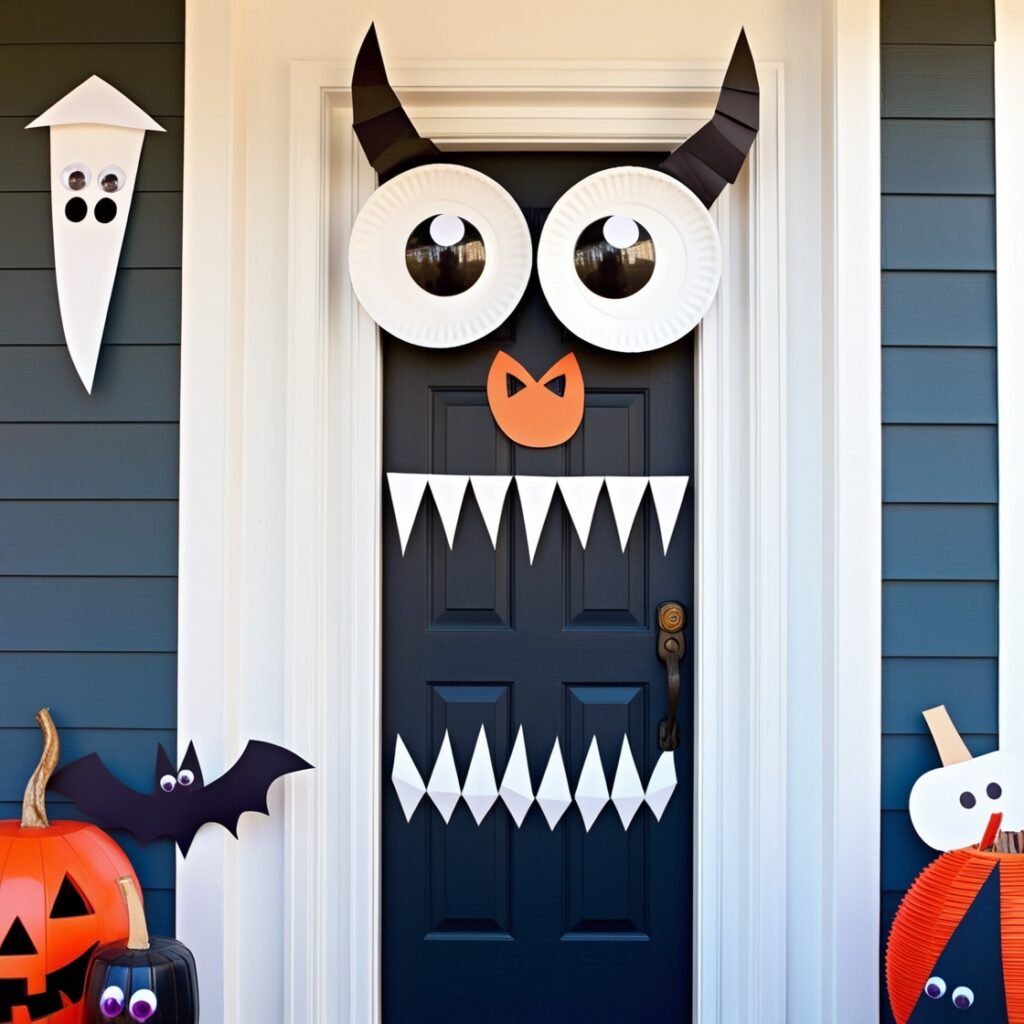
Transform your entrance door into a festive Halloween monster! This DIY project is perfect for families with children since it allows everyone to participate.
What You Need:
Colored or construction paper (black, white, red, etc.)
Scissors
Double-sided tape or glue
Steps:
Cut out giant eye forms, teeth, and other monster features.
Attach them to your front door to form a goofy or spooky face.
For more flair, add details such as brows or horns.
6. Bloody Handprint Window Clings
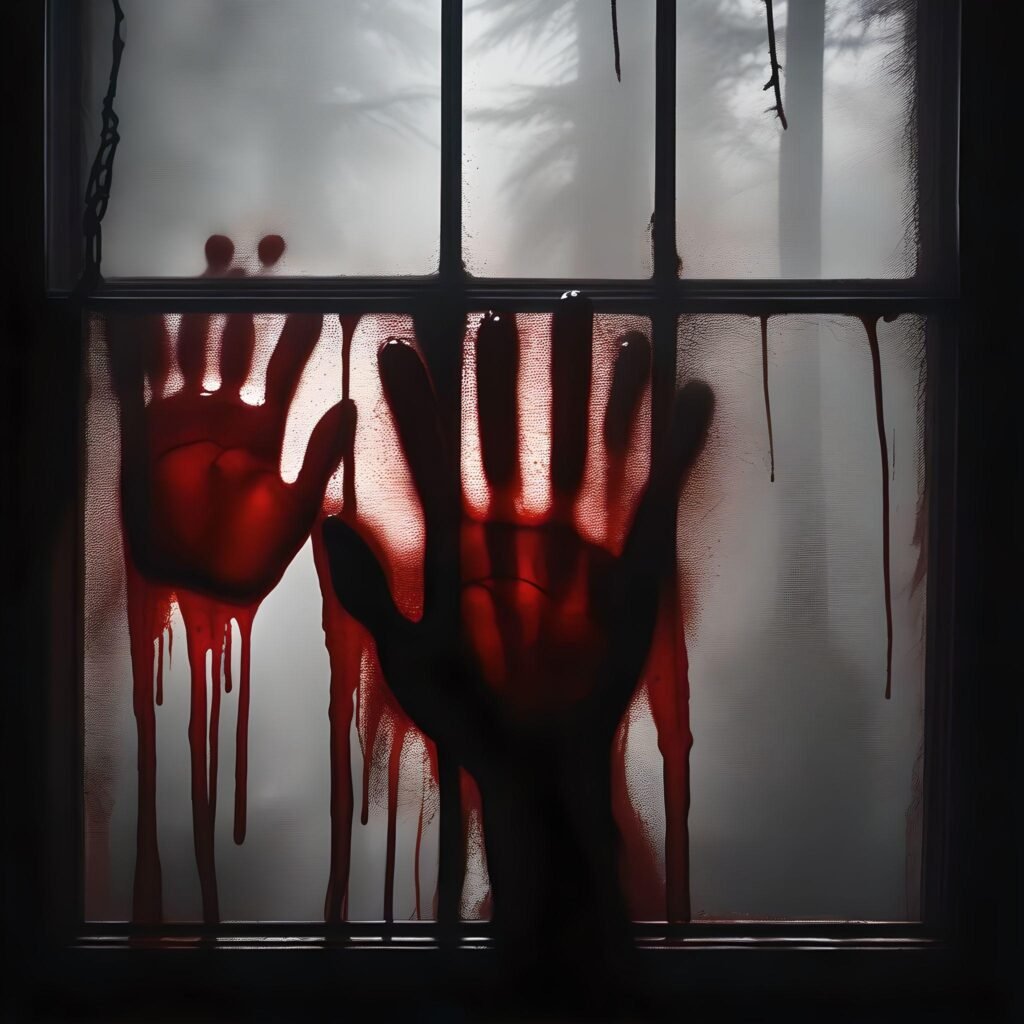
These bloodied handprint window clings can give your home a creepy, haunted feel. They are surprisingly simple to build and can be removed after Halloween.
What you need:
Red food color or washable red paint.
Corn syrup or liquid glue?
Plastic wrap or wax paper.
Steps:
Combine red food coloring and corn syrup to make a thick, blood-like concoction.
Dip your hands in the concoction and press them on plastic wrap or wax paper to make bloody handprints.
Once dried, peel and attach them to your windows.
7. Pumpkin String Lights
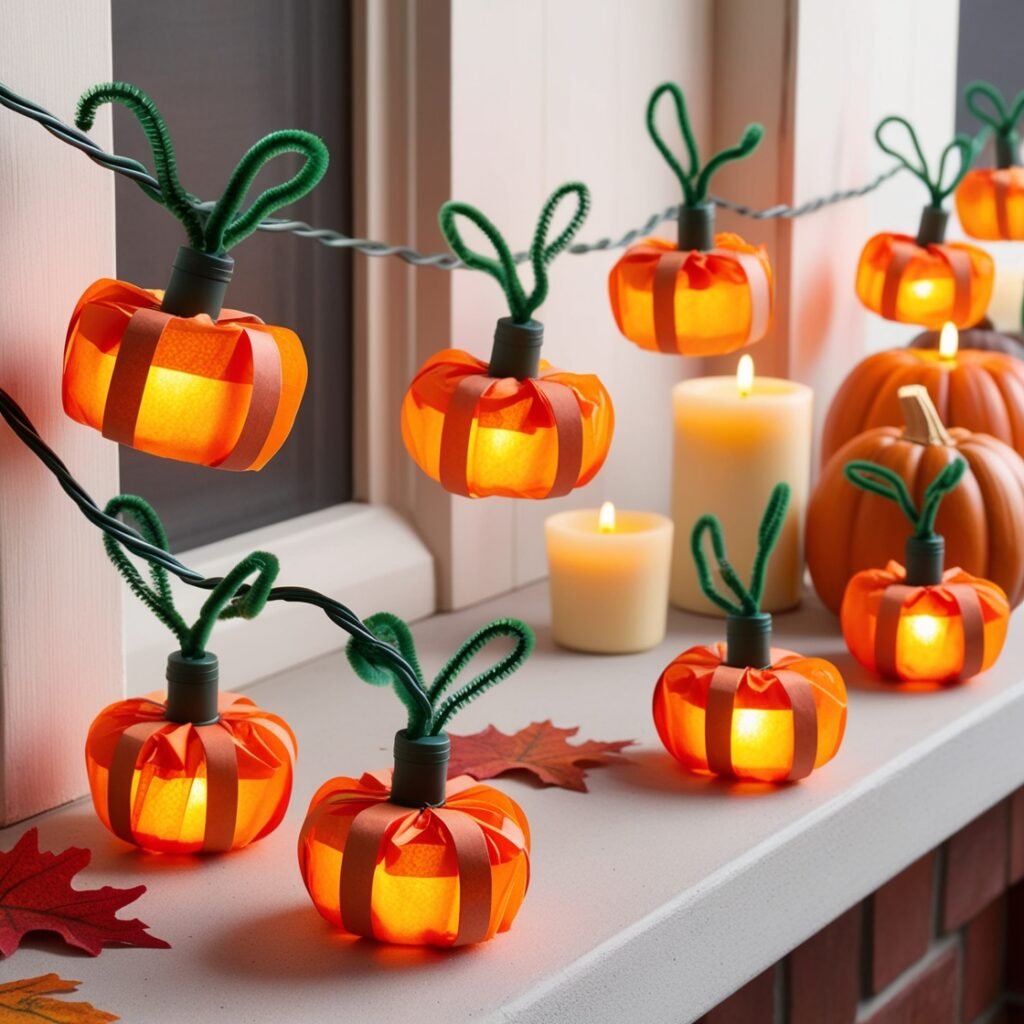
Light up your home with these adorable DIY pumpkin string lights. These lights can be stretched across mantles, entrances, or patios to add a festive Halloween touch.
What you need:
Orange tissue paper or crepe paper with LED string lights.
Green pipe cleaners.
Tape
Steps:
Wrap orange tissue paper around each bulb of the string lights and secure it with tape.
Twist a little green pipe cleaner around each top to imitate a stem.
Hang the lights wherever you like to create some glowing Halloween ambiance.
8. Creepy Candle Holders
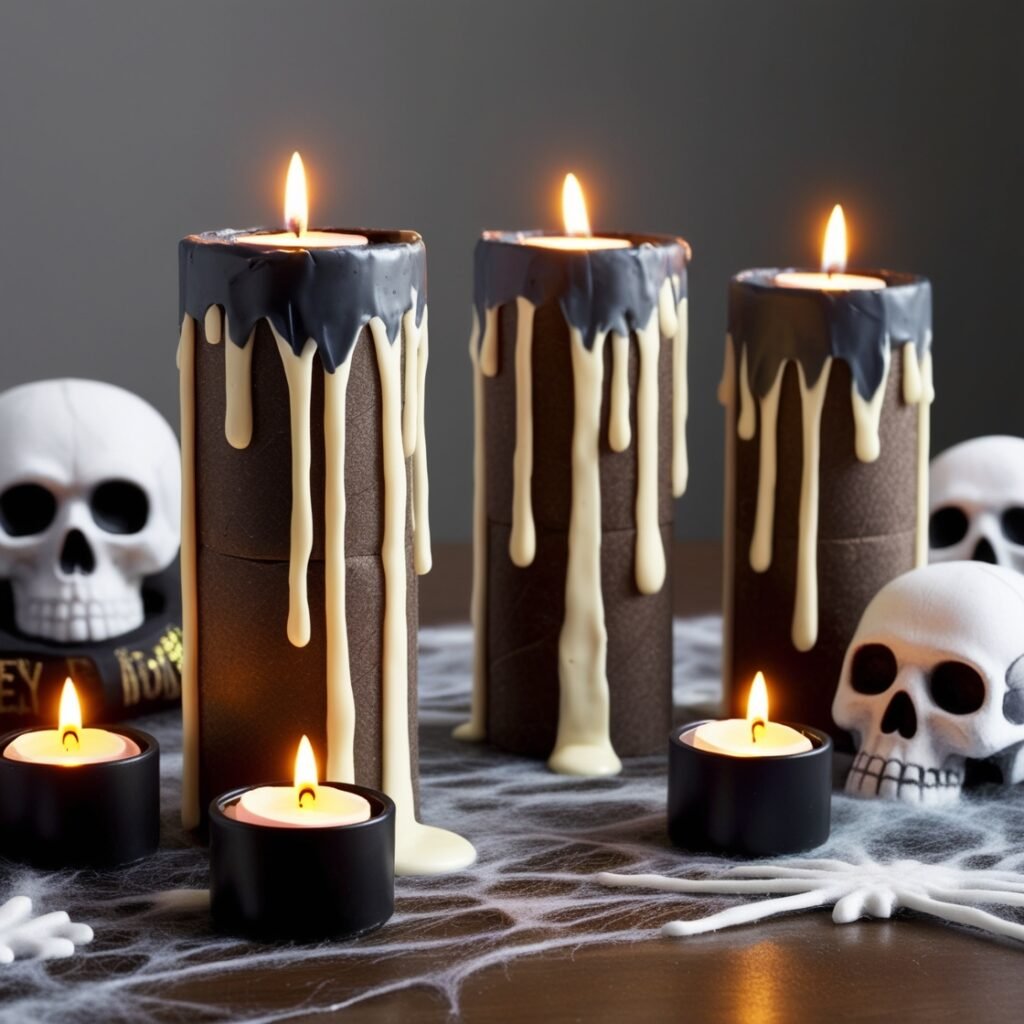
Discarded items can be used to make creepy candle holders. It is a simple and inexpensive way to add an ominous glow to your Halloween display.
What You Need:
Empty toilet paper or paper towel rolls
Hot glue gun
Black paint, LED candles, or tea lights
Steps:
Use hot glue to make “wax drips” down the sides of the rolls.
Paint the rolls black or silver.
Add an LED candle to the top for a scary false flame.
9. Witch Hat Door Hanger
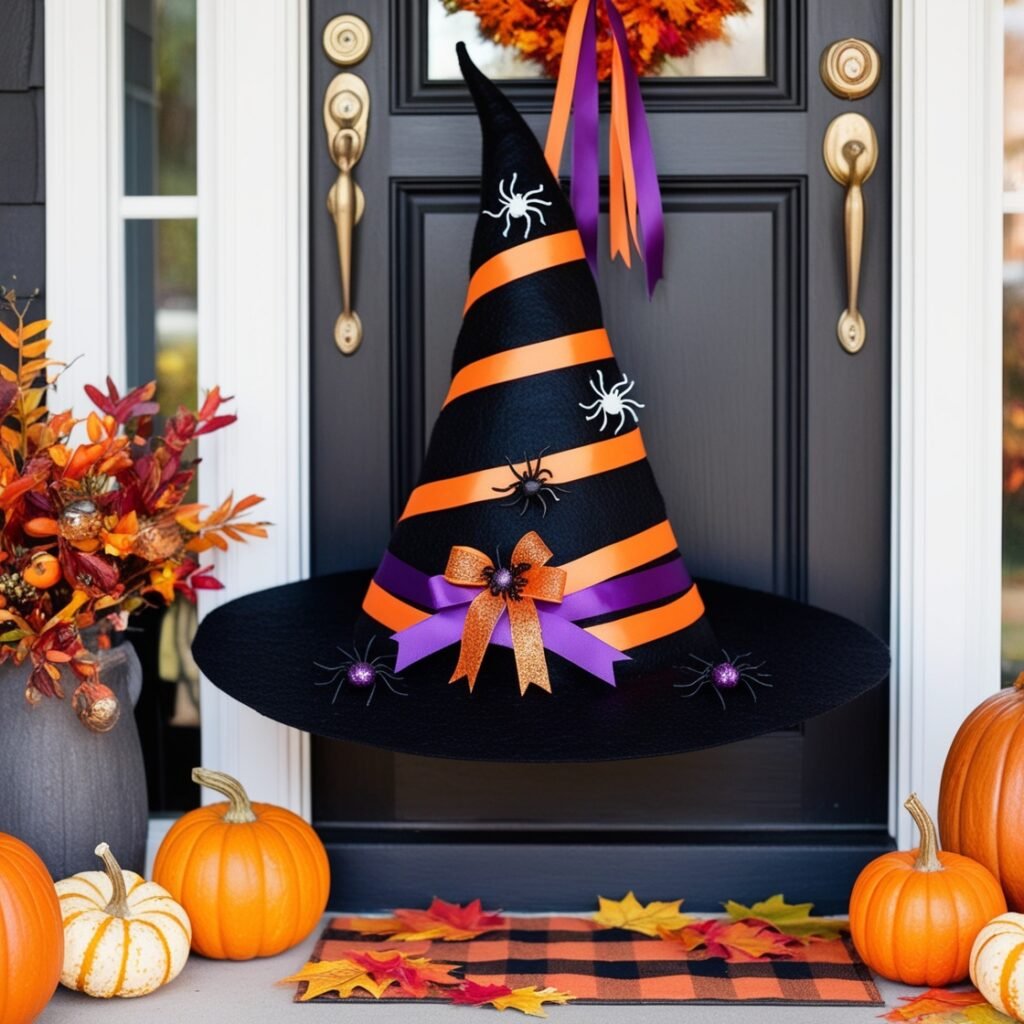
This quirky, witchy door hanging is an excellent alternative to the usual wreath. It is simple to assemble and provides an excellent first impression on visitors.
What you need:
Black construction paper or feeling
Ribbon (black, orange, or purple)
Small Halloween decorations (plastic spiders, pumpkins, etc.)
Glue
Steps:
Cut a witch’s hat form from black construction paper or felt.
Decorate with ribbon and Halloween ornaments.
Add a loop to hang it on your front door.
10. Spider Web Table Runner
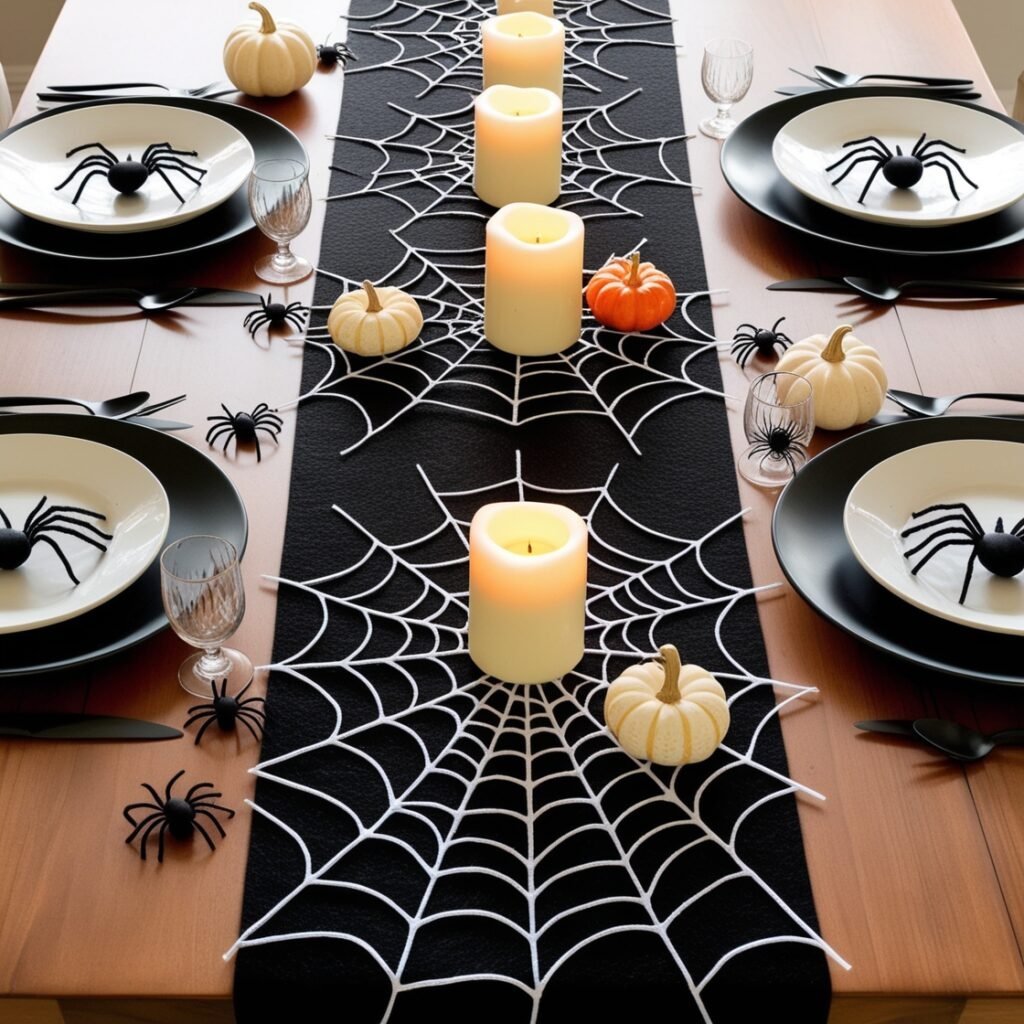
This DIY spider web table runner is ideal for a Halloween dinner table or party arrangement. It’s simple to construct and adds a creepy element without being overly frightening.
What you need:
Scissors in black felt.
Chalk or Fabric Marker
Steps:
Lay down your black felt and use chalk to create a spider web design.
Carefully cut out the web pattern, discarding any excess material.
Place it on your dining table for an immediate Halloween change.
Conclusion
These ten DIY Halloween décor projects are ideal for novices looking to be festive without breaking the bank. Each creation adds a unique flair to your Halloween celebration, from frightening mason jar lanterns to creepy candle holders. You don’t have to be a DIY expert—a little imagination and a dash of Halloween passion would suffice! So gather your supplies and begin making your way into the eerie season.
FAQs
- What material is ideal for making DIY Halloween decorations?
Many DIY Halloween projects use inexpensive materials such as construction paper, foam board, mason jars, and tissue paper. Choose objects that are readily available at craft stores or can be recycled from around your home. - Can kids help with these projects?
Absolutely! Many of these crafts, like monster door decorating and bat wall décor, are suitable for children. However, young children should always be supervised when using scissors, glue, or paint. - How long do these DIY projects typically take?
Most of these tasks take 15 minutes and an hour, depending on their intricacy. They are quick enough to fit into a busy schedule while producing high-quality results. - Can we reuse these decorations?
Some, such as the bat wall decor and pumpkin string lights, can be stored and utilized the following year. Others, such as the ghostly cheesecloth decorations, may need redone due to their fragile nature. - What can I do to make these initiatives more eco-friendly?
Consider using recycled or repurposed items such as old jars, unused paint, or scrap paper. You can also avoid using plastic wherever feasible and use biodegradable materials such as natural fabrics and paper.

2 thoughts on “10 DIY Halloween Décor Projects for Beginners”